

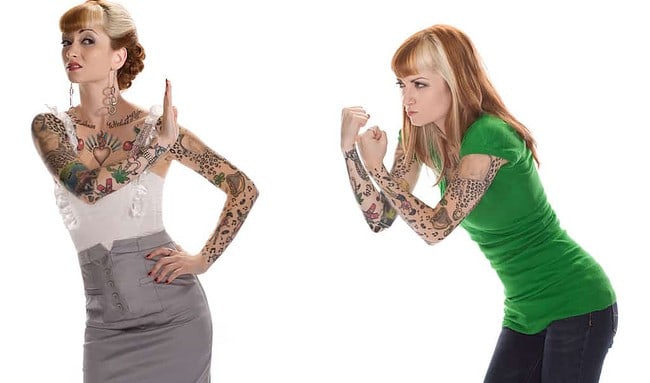
Pre-shoot suggestions
- Bring more than one wardrobe option (in order to get some variety in your images) and bring at least one outfit that you would want to wear for a live-broadcast national event or a large-scale media interview.
- The main focus is on your eyes and face, so make sure that your clothing choices don’t draw attention away from this. Clothing options with solid, neutral colors are often the best choice.
- Keep in mind that bright white tops can often make skin tone (color/condition) look quite vivid. If you feel like you have any skin color/condition that you would prefer not to be “amplified” in your image, simply avoid wearing white.
- What color should you wear, then? Personal favorite colors often work the best. Wear what makes you feel confident and comfortable. If you’re confident in how you look, that confidence will shine through in your image results.
- For more advice on wardrobe color selection, see Stephanie Vozza’s article on wardrobe color theory. Lean towards gray or blue tones if you have trouble deciding.
- Subtle patterns also create impressive results but be aware of the moiré effect sometimes seen in thin, close, repetitive clothing patterns (usually tiny grids, really thin pinstripes, and very fine herringbone textures)… this effect can look very unintentional in the image results.
- Layering clothes is a great way to achieve multiple looks without the need to change clothing while shooting on location. Scarves, sweaters, suits or other jackets, and even glasses can help.
- Wearing glasses? The direct lighting (used for flattering contours) can sometimes cause harsh reflections in lenses. If you are comfortable popping out the lenses from your frames, that is the best way to retain your stylish frames while omitting any unstylish glare. Most lenses pop out fairly easily; but be careful- don’t push so hard that you break your frames! There are a couple other options for getting around glare, but they never look quite as convincing as lensless frames.
- Avoid wearing wide necklines or off-the-shoulder tops (even under a jacket) unless you have no problem appearing completely shirtless if the photo ever gets cropped in too closely.
- Avoid busy patterns, large logos and extremely bright or reflective clothing, which can reflect unwanted color onto your face. Avoid accessories or jewelry that are distracting in shape or color. Remember that the focus is on your face and eyes, so try to keep your look simple.
- Standing for up to an hour may be required, so wear any kind of comfortable footwear that you prefer. Feel free to also bring different or a more formal pair of shoes to your shoot if head-to-toe portraits are also desired.
- If you’re planning to get your hair trimmed, restyled (or if you’re planning any drastic changes) it is recommended that you do this at least one week before your shoot because new styles (and fresh haircuts) need time to naturalize.
- Bring a comb, hairbrush, hairspray or any other hair care products you typically use. It’s best to shave or do any beard trimming the morning of your shoot.
- Going for the clean-shaven look? Use a brand new razor blade (electric shavers will generally leave patches of stubble) and be sure to shave the day of your photoshoot. If you have fast/heavy growth, plan to shave 1 hour before the shoot time.
- Going for the bearded look? Do not make significant reductions in facial coverage within 2 weeks of your photoshoot (in order to avoid tan lines). Consider using beard oil after showering… but more importantly: trim your mustache and/or beard the day of your photoshoot (and consider shaving neck hairs).
- Don’t forget to trim all visible nose/ear hairs; as they will be noticeable under bright lights.
- If you are concerned at all about eye redness (from allergies, etc) look into bringing a bottle of Bausch and Lomb LUMIFY Redness Reliever Eye Drops which work in under a minute and last up to eight hours.
- On the day we shoot, avoid using any high SPF skincare products (lotion, makeup, aftershave, etc) and especially avoid any with silica (often labeled “HD”). Large amounts of silica, mica, titanium dioxide, or zinc oxide can all help contribute to a nice glow in daily wear scenarios (or “indirect lighting”) but can also make skin appear extremely reflective under “direct lighting” conditions (which can be inferred as looking sweaty, powdery, ashy, or oily).
- Doing your own makeup? Try not to get too adventurous with your look (unless that’s your usual style). Start by using a moisturizer or primer to help keep your face hydrated (and your makeup in place for longer). Use under-eye concealer with spot concealer, if needed. Keep it minimal and go for a professional/natural look. Be sure to bring some makeup to the shoot (in case you need to do any touch ups).
- If you have oily skin, go for a matte foundation and remember to set it well with powder. If you have dry skin, I’d recommend a liquid foundation with a dewy finish.
- Try and use a foundation that matches both your face and neck. If your neck is slightly darker than your face, use a foundation that better matches the darker tone.
- Do not limit makeup strictly to your face; be sure to extend coverage all the way down your neck to just below the neckline (of where your lowest top begins) so that it all matches.
- If you plan on working with a Makeup Artist please confirm (before your appointment) that they are using low-silica and low-mica flash-friendly products in order to avoid flashback.
- Eat a healthy breakfast and/or lunch prior to your session. Try to stay away from greasy, fatty foods that day. The goal is to make sure you have sufficient energy levels throughout your shoot.
- Drink plenty of water during the days leading up to your shoot. Hydration will help keep your skin looking healthy and natural.
- Get plenty of rest the night before your shoot so that you’ll look refreshed.
- Last (but certainly not least) spend some time in front of the mirror to practice the looks you want. Move your face in different positions and note the subtle changes: side to side, chin up/down, eyes open and receptive versus eyes intensely focused on something, even try on a variety of different smiles (subdued or “stoic” versus outright laughter, for example). These exercises will help you better understand the directions given during your shoot.
Location: (The following info is relevant only if you are heading to the portrait studio for your photoshoot)
Portrait studio is located inside the NORTH COAST SEED STUDIOS building at 2127 N Albina Ave Portland, OR 97227. Street parking is available, and the Albina/Mississippi MAX stop is one block away.
The building is over one hundred years old, is right next to active railroad tracks, and does not have a publicly-accessible entrance, but there is a doorbell marked REED (this doorbell is silent on your end but quite loud on my end).
Hit that button and I’ll come down to the main door (the funky yellow one marked #2127) in order to show you inside.
You can also call/text me at 503.877.4041 if I’m taking too long to answer the doorbell.
See you soon.